
Regarding the use of IPMI to install the system, Hao VPS briefly stated in an article in January this year that the machine used at that time was a machine from the Phoenix SS computer room, which was installed by mounting the ISO by the computer room technology. However, most IPMI can mount the ISO and install any operating system by yourself, so I decided to make some additions. Please note that I often refer to IPMI. Some can only be counted as KVM, but I personally call independent servers that can install their own systems IPMI. It is convenient. In case I call you KVM I was confused because I thought I was playing in a VPS.
Today's tutorial is tested on a DELL C1100, the server configuration is L5520, 24GB, 1TB. The computer room provided a KVM with limited operability, so I submitted a work order to him and asked for IPMI. I also want to explain these foreplays. The process of using IPMI for different boards in different computer rooms is also different. This article only uses my current situation. Take a machine as an example. After all, a dedicated server is not a VPS, so I can only buy it and write it there. If you asked me to collect them all at once and write a series, then I would have to beg: Brother, give me some money...
[Foreword]This is an article with a large number of pictures. It may take a long time to load. Thank you in advance for your patience!
Let's get down to business. First log in to our remote management panel (the login information is required from the computer room). It is very simple, as shown below:

Click Console in the header menu and see the following picture. Click Launch VM to download automatically.

The downloaded file is such as vm.jnlp(….). We need to rename it, just remove the “jnlp” after it. I will make it vm.jnlp here. I will write it later. This file is mentioned in .
Launch KVM also downloads and renames the renamed file view.jnlp, which will also be used later. Of course, you can also go directly to the backend product page of the computer room customer center that provides you with the server to download and run it directly.
Before performing the following operations, I have two tips:
1. Please try to operate on a Windows VPS or other independent server, because mounting the ISO later requires better upload bandwidth, if the local one is ADSL If the theoretical uplink speed is only 64KB/s like me, it would be tragic to think about it. However, fortunately I have BlueVM’s KVM ($#%$^...omitting 10,000 words here)
2. Please make sure that JAVA in the system you are running these things on is in normal use. Some people who buy a VPS also say that my VNC cannot be connected, etc. I found that in some parts, Java is not available, but it is not connected, but there is nothing to see at all. IDC is very unfair!
Okay, let’s get down to business. The system we are going to install today is XenServer. Why choose it? One is CentOS and Debian, which I have written about in previous articles. When I write about CentOS, I must omit screenshots. Some people say that any JB tutorial written is incomplete and quite speechless. It’s not that the tutorial is incoherent, it’s that you yourself are incoherent. I will watch them continuously, who knows? Another important reason is that XenServer can be easily opened by yourself. Just a few days ago, a friend wanted to buy a server and asked me about this. I don’t know if he bought it, but I wrote it here for reference. Bar.
Before starting the installation, I have a little reminder (Oh, my god, I’ll finish it with you...). You need to prepare an ISO of xenserver. I just googled it and downloaded a XenServer-6.2.0 -install-cd.iso, several hundred megabytes.
When we execute the downloaded vm.jnlp, there are two security warnings, so just continue.
Get the interface as shown below, click Add image... to load ISO, open the directory of the ISO we downloaded and select the ISO file of XenServer we downloaded.
After loading, please select Mapped in front of the ISO to map the ISO to the virtual optical drive.

Restart the server and execute view.jnlp to enter Virtual KVM. Our installation process is all performed in Virtual KVM (hereinafter referred to as KVM). Generally, there is a restart button in the computer room. You can also directly use Macros and Ctrl-Alt-Del in KVM (some machines here are very insensitive to operate and there will be no response when you click it, so go directly to the server management to hard restart).
The picture below is the startup interface. You can enter Bios, or directly press the buttons to select the startup sequence. Depending on the motherboard, the set buttons may be different, just like using a CD-ROM drive to install the system on your own computer.

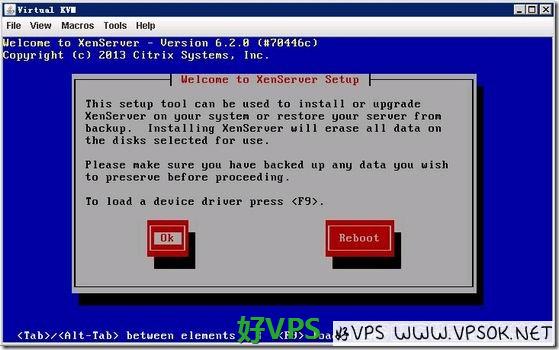
The picture below shows you entering the XenServer installation interface after starting from the virtual optical drive. This is the first screen. Press Enter when installing or upgrading.

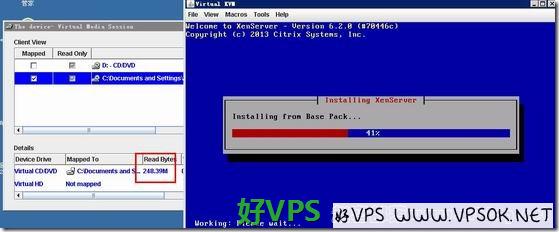
There are more pictures below, I may not explain them one by one, just look at the pictures. The installation process on the right is started, and the data reading on the left is also running simultaneously. Some IPMI upload the ISO first. This can only be called mounting. The things are still local and are uploaded while being installed.

As shown below, select the keyboard language.

Let me ask you again: do you want to pretend?
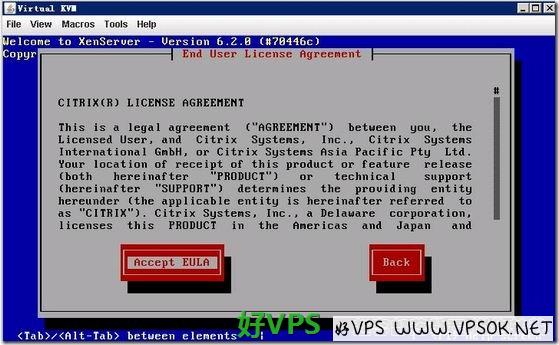
The following, which must be accepted, is the End User License Agreement.
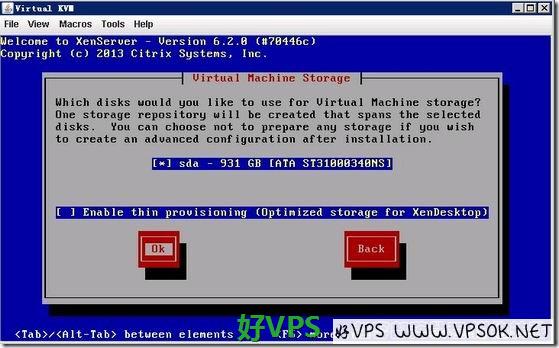
Select the disk you want to install on, I have this one.
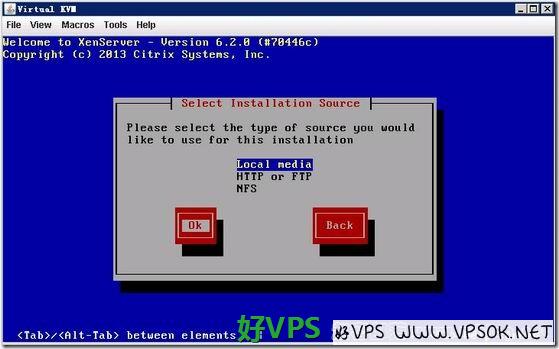
Select the installation source.
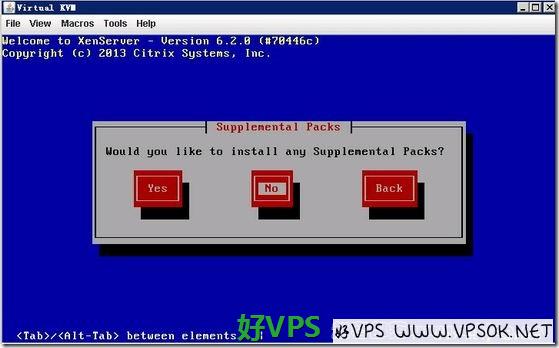
Do you want to install the patch as well? I don’t have to choose.
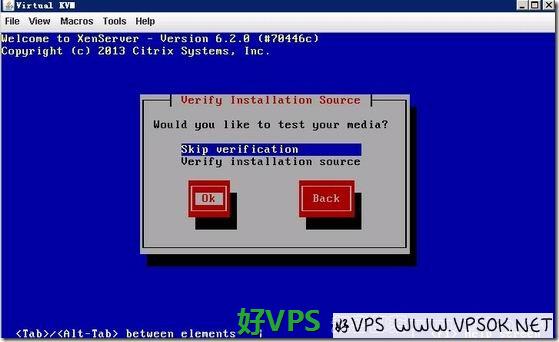
Do you want to verify the installation disk? I choose to skip.
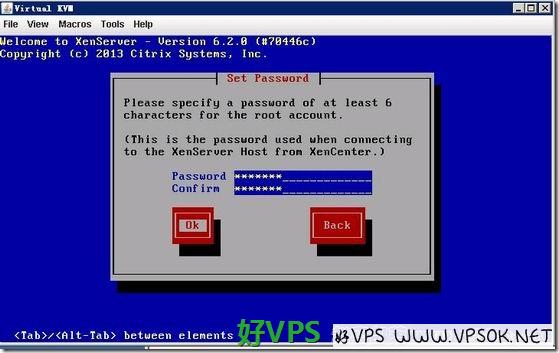
Set the root password. You can change it later, so don’t be too nervous.
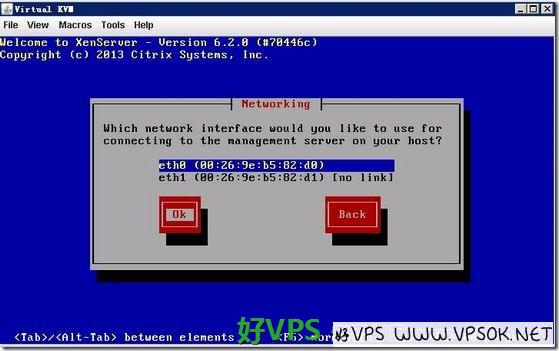
Select the network card, I choose eth0.
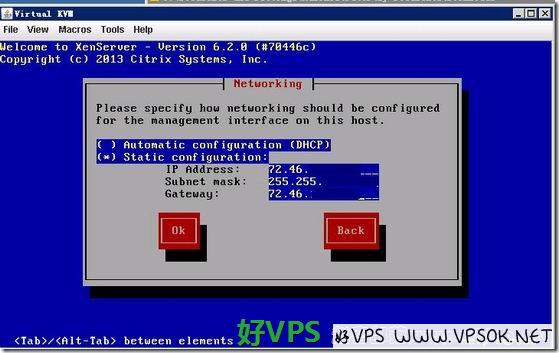
Set the network, you can see from the first picture of my article that DHCP is no, so, The IP must be set manually. The IP information, such as gateway and mask, are provided to you when the computer room activates the server.
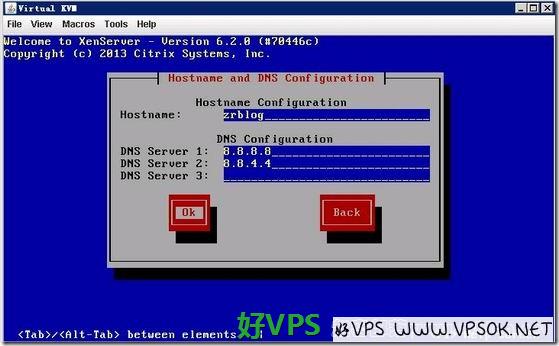
Set the host name and DNS. You can write the host name yourself, and I will write Google’s DNS.
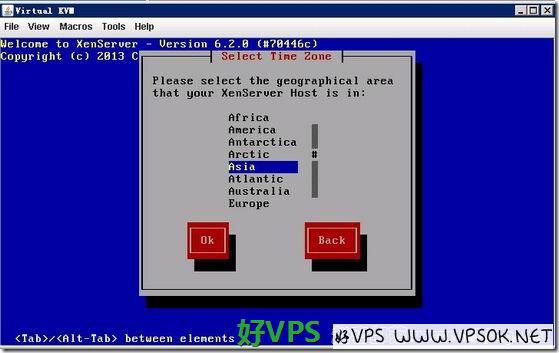
For countries and regions, select Asia for the first picture.
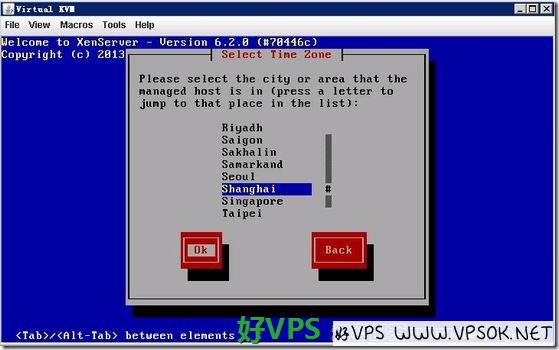
For the second one, choose Chongqing or Shanghai, either one will work.
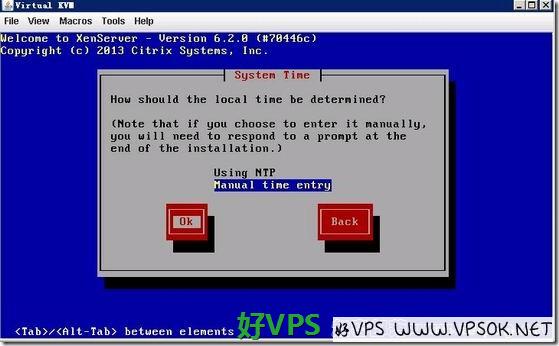
This is to set the system time. If you choose NTP, fill in the address of the NTP server. I did not choose NTP here.
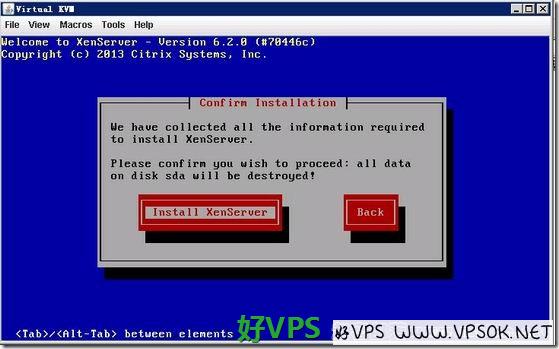
The following is easier to understand. Start the installation.
The following has started. The image file read size on the left is gradually increasing, and the percentage of the progress bar on the right is also running very happily.
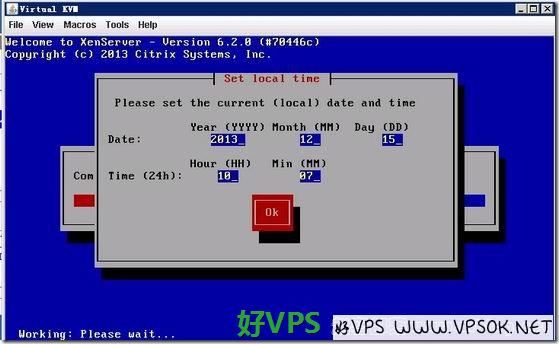
Set time.
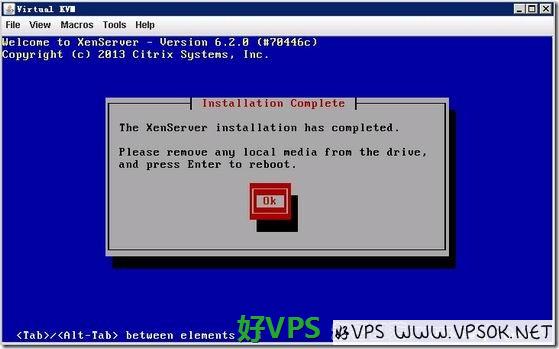
Completely completed, reboot the system.
On the first screen after entering XenServer, just press Enter.
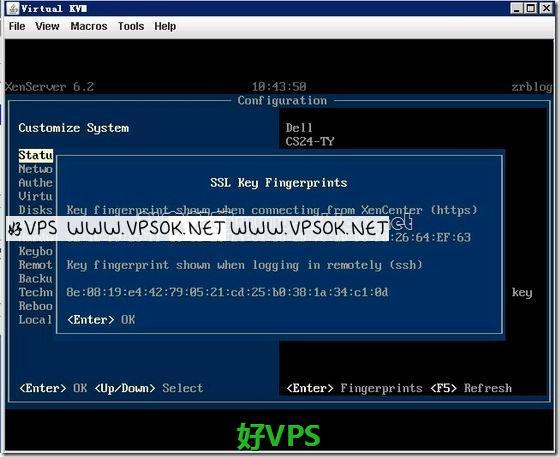
Well, I will finish the XenServer installation here.
In fact, I have been wondering about the title of this article for a long time. Should I focus on IPMI or XenServer? In the end, I decided to focus on XenServer. The reason is the same as before. I can't write a series on IPMI. I found that I can still write an article on XenServer, such as opening a Linux system. Well, see you in the next article~!
