
Recently, I met some friends who purchased KVM architecture products and left messages. They reported that they were cheated. After purchasing KVM, they could not log in via SSH or ping, and so on. In fact, this is due to the lack of understanding of KVM architecture products. Compared with OpenVZ and XEN (PV), KVM has greater autonomy. When the KVM we buy is only equivalent to a bare metal without an operating system, we get When doing so, you should first install the operating system through the VPS management panel before you can connect and use it. A long time ago, I once wrote a simple process for installing Debian on Hostigation's KVM (Previous review). Today, I am here to share about the process of KVM installation of CentOS. Let’s all use it as a reference.
Friendly reminder: There are many pictures in this article, and it takes a long time to load. Readers, please forgive me.
First, we log in to the SolusVM panel, set the CD-ROM drive to start, and put the CentOS ISO file in the CD-ROM drive.
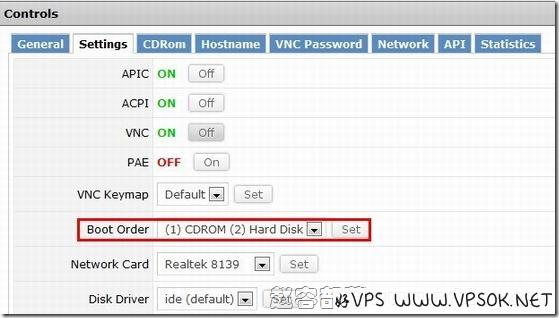
As shown below, I am going to install CentOS5.8. Here I can choose Full CD or Netinstall (one is direct ISO, the other is network installation). The screenshot here shows the selected CD installation, but then I am using Netinstall. Please note that the basic steps are the same.

After completing the above work, restart the VPS, and then click on the VNC connection on the panel.
Please note that the VNC connection of the panel requires browser JAVA support. Please install the browser plug-in yourself. You can also use the VNC tool to view VNC link information in the panel.
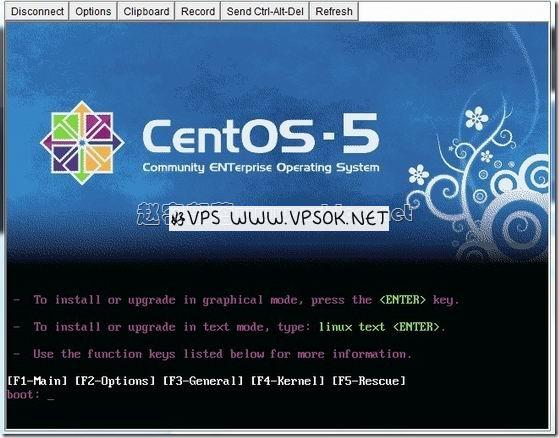
Ok, this is the VNC installation interface. We select text mode to start the installation.
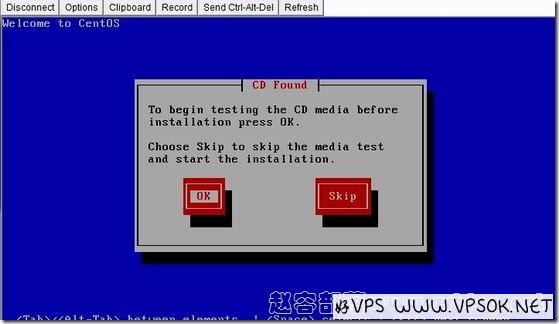
The picture below is the page for selecting CD installation. It prompts that the CD has been found and asks whether it needs to be tested. This is not necessary. Just click skip.
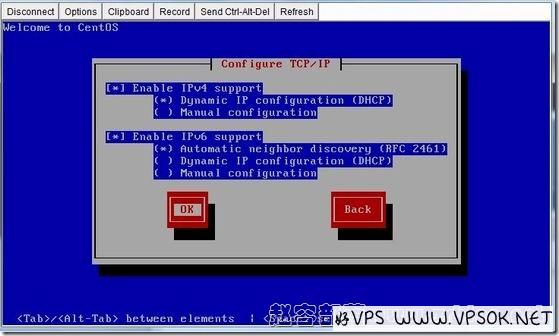
If you use CD to install directly, the following two steps will not appear. I will take network installation as an example, and the following interface will appear. First configure TCP/IP and use the default.
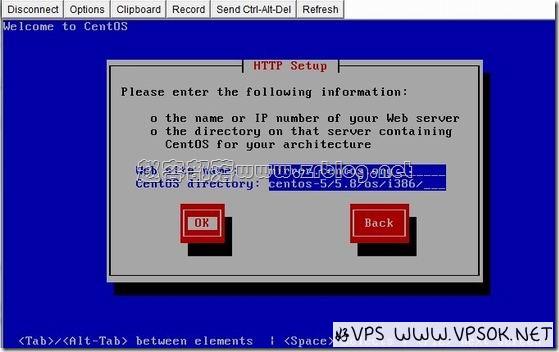
Enter the network installation source address. We can find many installation sources in search engines.
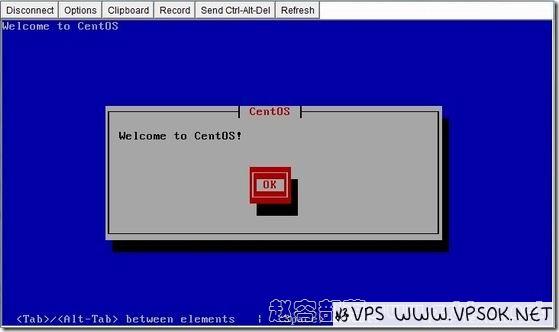
The welcome screen appears.
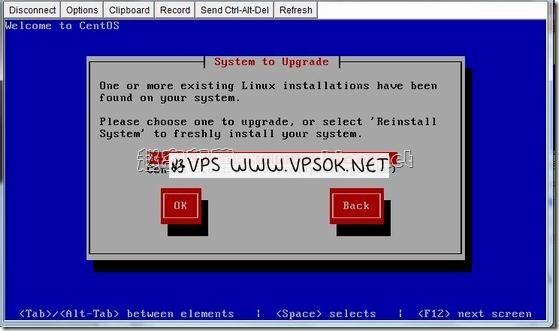
Since I already have a system here, I have one more option. I choose to reinstall the system.
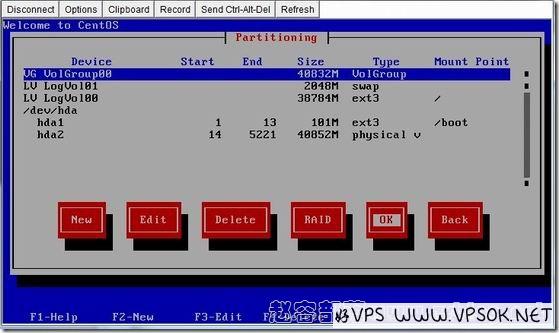
Below you can define partitions and select disks.
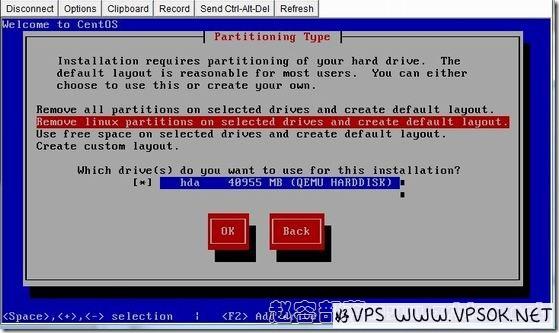
Disk partition adjustment.
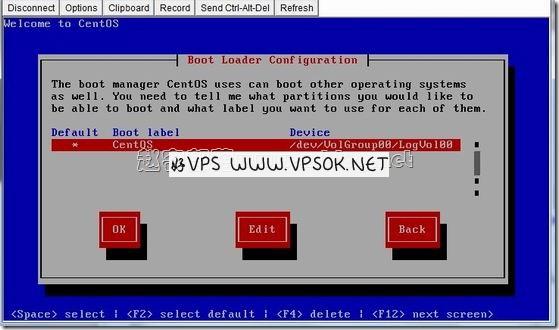
Startup item management configuration.
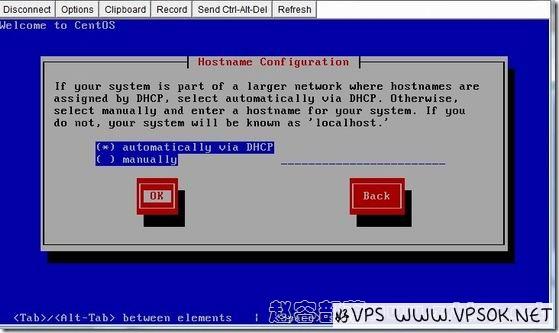
Hostname configuration, these can not be set temporarily.
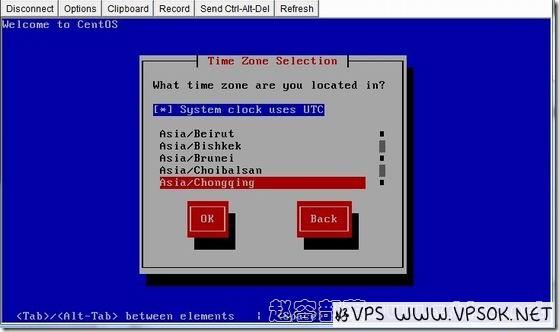
For time zone selection, I chose Asia/Chongqing.
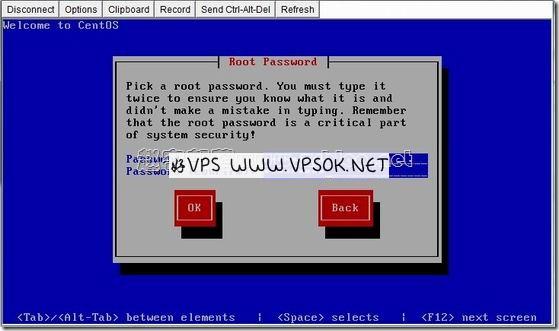
Password setting for the root account.
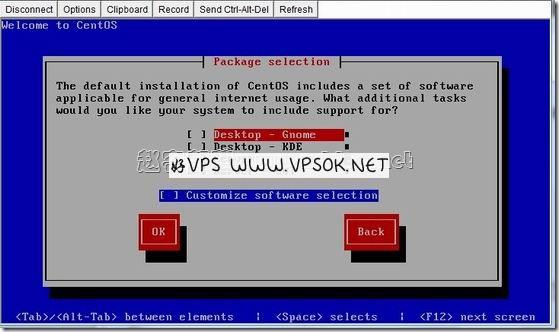
Optional installation package.
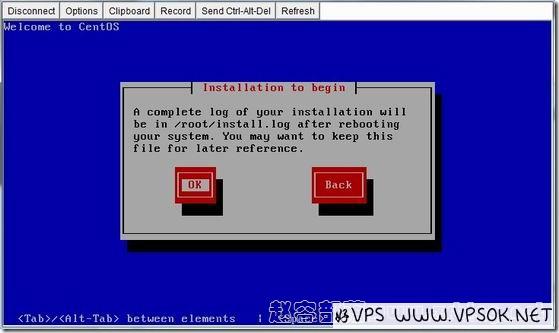
This is a reminder that the installation is about to begin.
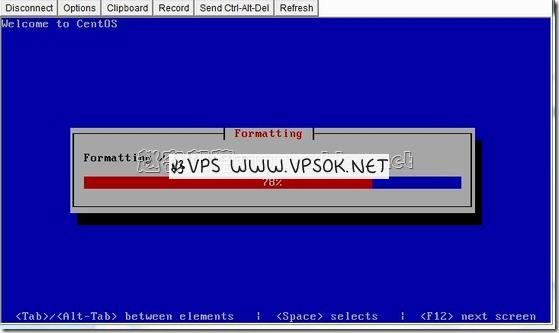
Format disk and file system.
OK, the installation begins.
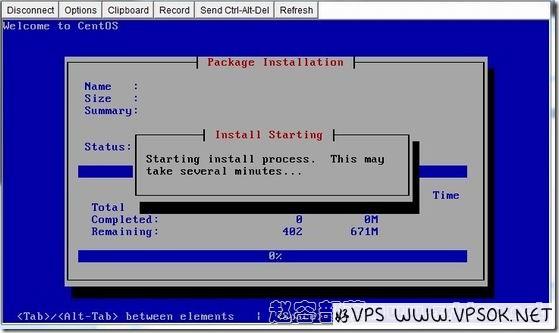
The above is the process of starting the installation. After completion, there will be a page prompting to restart. I will not take a screenshot, just OK and restart.
After restarting, you will go to the login interface. Use the root password we set to log in.
I installed CentOS6.3 another time, also using Netinstall. Due to space limitations, I will not elaborate on it one by one. I will upload the screenshots of the process to the space. You can download the compressed package of the screenshots to watch: Click to download KVM. Installing CentOS6 screenshot tutorial
The above is the basic process of installing CentOS by KVM with . There are many pictures and there are missing parts that have not been screenshotted. It is relatively simple. If you cannot connect via putty, please check whether the SSHD service is enabled, whether the iptables rules are abnormal, etc.

