There is a little difference between the installation of CentOS7 and the 6 series. I always wanted to record it but always forgot. This time I got a machine and just needed to install CentOS7, so I took a few screenshots Save the picture for easy viewing next time. Because this article is installed on a stand-alone server, IPMI needs to be used. If you are not sure about IPMI, you can check my previous articles (IPMI interfaces may have various styles, but they are similar in use).
First, we download the CentOS7 system ISO file to the local machine, then open KVM and mount the ISO.
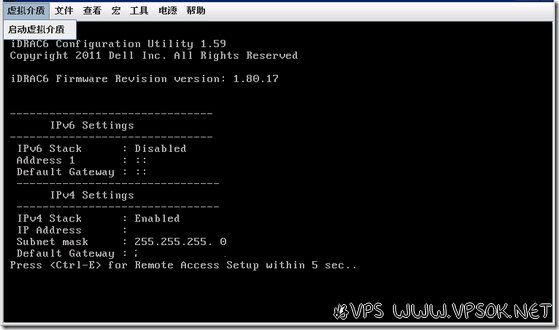
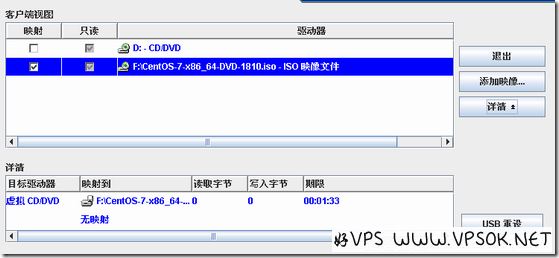
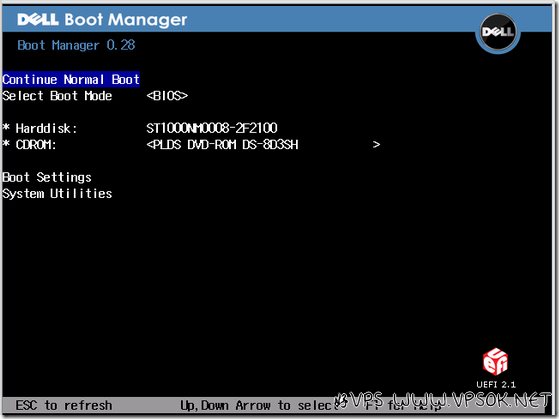
Restart the machine after mounting and select CDROM to boot.
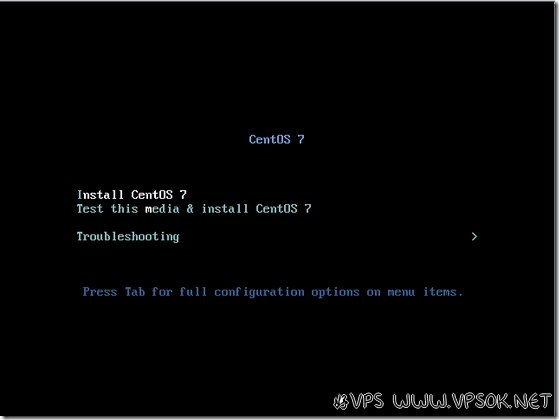
Enter the first screen of CentOS7 installation, select Install CentOS7
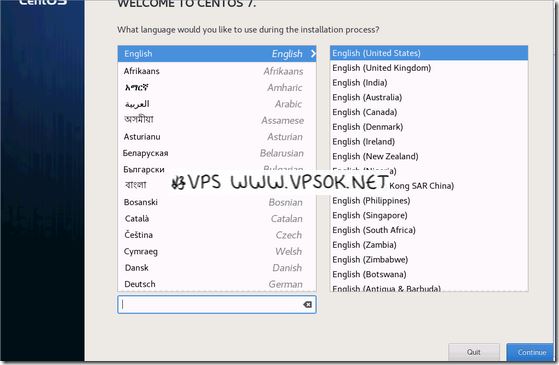
Select keyboard and language.
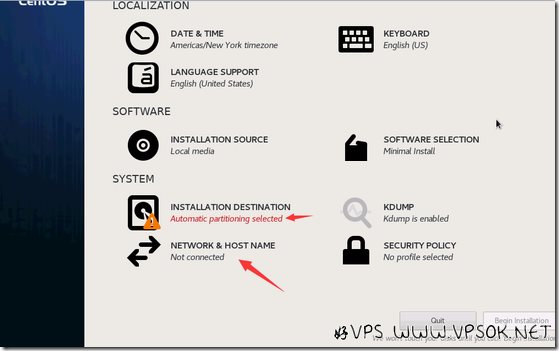
The following is the key setting part of the system installation. The important parts are pointed by the two arrows in the figure below: INSTALLATION DESTINATION mainly contains disk partitions; NETWORK & HOSTNAME, as the name implies, is the setting Network.
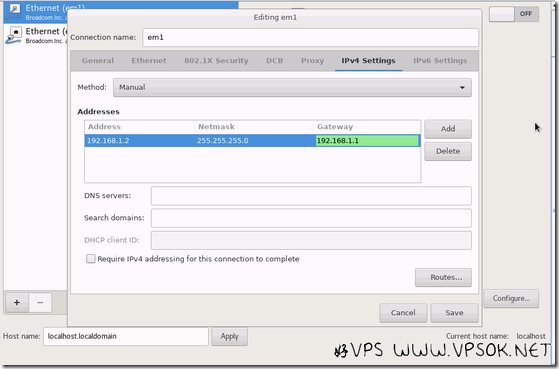
First go to the network settings section, click Configuration on the network card page, then select IPv4 Setting, add IP, gateway, mask and DNS, and then Save.
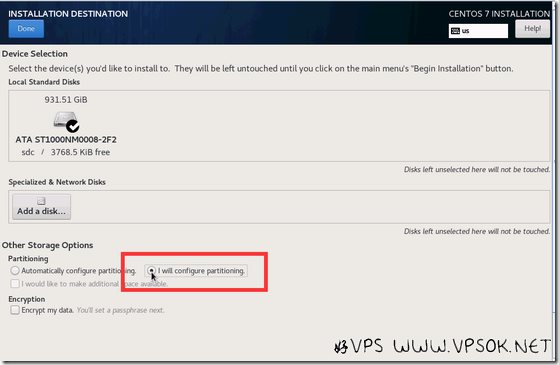
Below is the partition section, select I will configure the partition myself, as shown in the box selection.
After Done, you will come to the partition page. My machine used to be Windows, so I deleted the previous partition first, and then added a new partition after confirming the deletion.
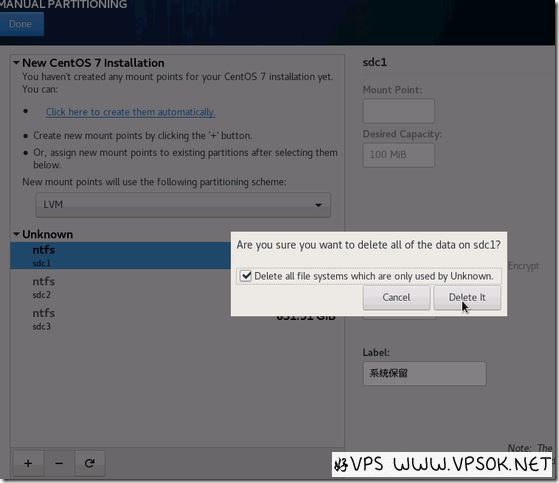
You can partition according to your own preferences or needs, usually divided into boot, swap, or home separately. Otherwise, other spaces can be directly located in /.
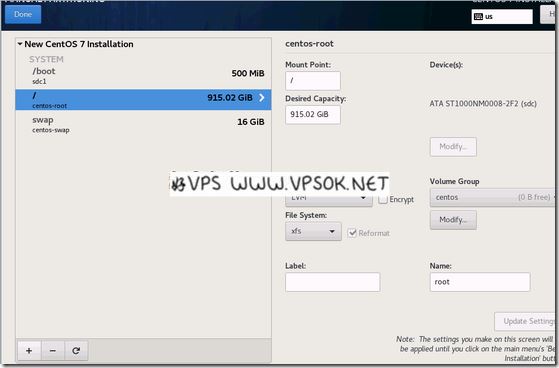
After completion, click Begin Installation. The page shown below has a section for setting the root password.
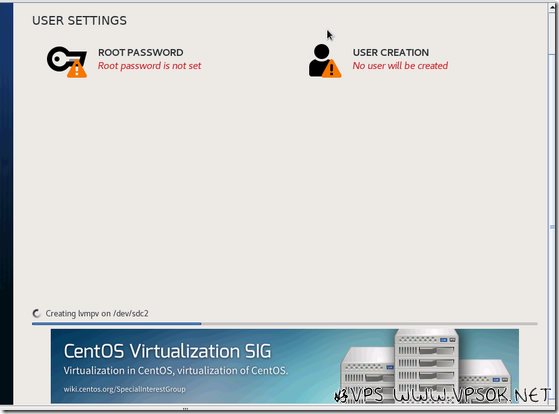
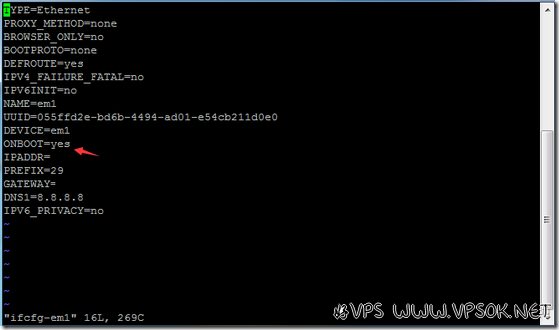
CentOS system installation is relatively fast, usually within 30 minutes from start to finish. After completion, click reboot to restart, enter the system, log in to the system, set the network card, the default Change ONBOOT from no to yes, then save and restart the network, and you can access and log in via ssh.
postid
21416
