
Recently, various discounts have not been strong, and I have been struggling to write about so many companies for a long time. Some friends have reported that there are too many Chinese IDCs. I hope everyone can understand my situation. What we call tutorials here on Good VPS can only be regarded as recording a process, or it can be done this way, but if there is a more convenient way, I hope you can correct me. I recently reviewed the installation and use of SolusVM, and recorded it so as not to forget it.
This series may include SolusVM installation , OpenVZ creation, and integration with WHMCS. The specific inclusions will be arbitrary. Today, let’s take a look at SolusVM installation . The following installation process is basically derived from the official Wiki of SolusVM. You can also go directly to the official website for help. The server used for testing in this series is OVH’s cheapest 16 dollars, plus IP=€1.2/piece (tax included).
Okay, after everything is ready, start SolusVM installation . It is very simple. It is just like compiling LNMP. Log in to the server through SSH and start work with a few lines of commands. Please see the instructions:
wget http://soluslabs.com/installers/solusvm/install
chmod 755 install
./install
After execution, there are some options, please read below.
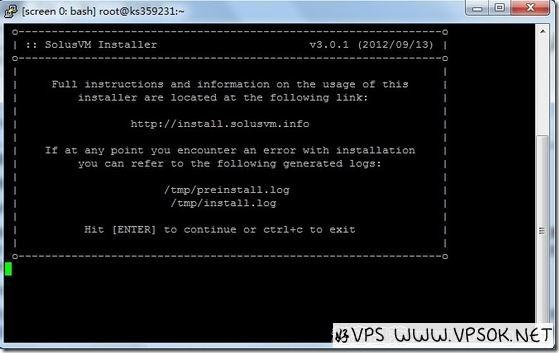
The above picture tells us that press enter to continue and ctrl+c to exit.
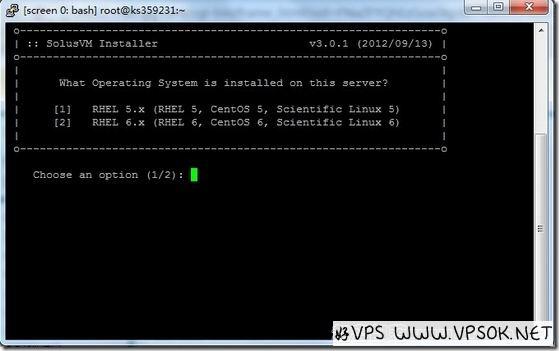
Select the operating system. I use CentOS6, so I choose the second one.
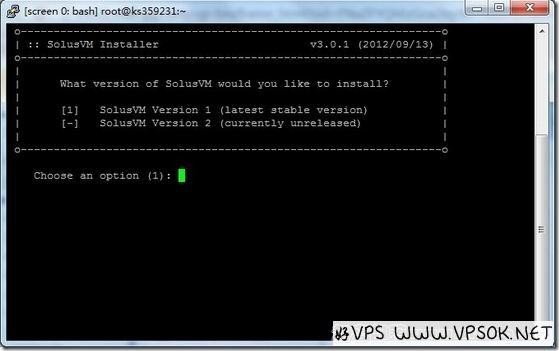
Select the SolusVM version to be installed.
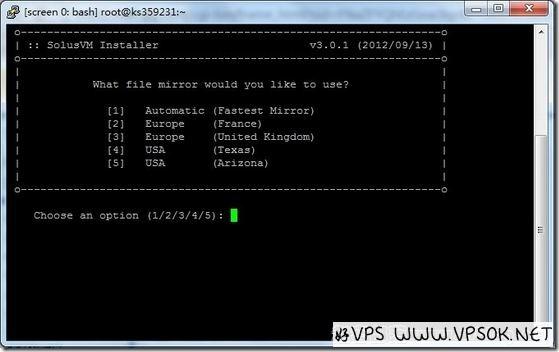
Select the fastest image file location, 1 means automatic detection.
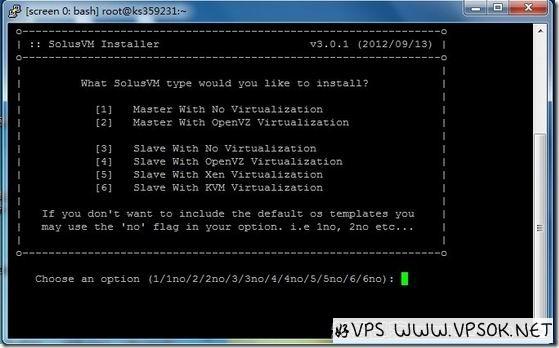
This step is to select the mode you want to install, the master control, etc. After selecting this step, there is another press Enter, and of course there is a chance to exit (press ctrl+c to exit), and then you need to wait. SolusVM installation is relatively fast. After completion, use IP+5353/admincp (use 5656 port for SSL). The username and password are both vpsadmin to log in.

