The last introduction to Proxmox was in 2013, and the blog article reprinted on the Internet was still this one. Three or four years later, Proxmox is currently available in 5.0-30, which is no longer the case. The original version is 2.3, and I happened to have an off-the-shelf machine with IPMI, so I tried it again and recorded it to avoid getting unfamiliar. This article records the installation process of the latest official version of Proxmox and the process of setting up a KVM host to install windows2003. It uses many pictures for newbies to refer to.
First, we access the Proxmox VE management address. Note that it must be https and the correct port. Access the visible login page. The language can be Chinese. Enter the root account password to log in to the panel.

Before setting up a virtual machine, we first need to download the system template to the relevant directory of the server. This is the same as the previous version. I directly copy the original content:
Before opening, we need to put the system template into the specified directory. You can download the OpenVZ system template from the OpenVZ official website. They provide many system templates with the tar.gz suffix and put them into the server /var/lib/vz/ template/cache directory;
The operating system of KVM is an installation image ISO file. You can find the installation files of Linux from the official website of major distributions, while the installation files of Windows are even simpler. For example, the ISO of Windows 2003 is available in many places. Provided, KVM system files are placed in the server's /var/lib/vz/template/iso directory.
In the upper right corner of the page, there are Create Virtual Machine (equal to opening KVM) and Create CT (equal to opening OpenVZ, the latest is LXC). Here we click Create Virtual Machine to open a Windows 2003 system host.

In the above picture, set a name. Next, select the ISO image. I have downloaded the windows2003 system ISO to the template directory. You can choose it here.

The next step is to select the operating system category. It is very simple and requires no explanation.

The following are hard disk size settings, backup, cache, etc.

Set the number of CPU cores.

Set the memory size, you can choose fixed memory or floating range memory.

The picture below shows the network selection. There is only bridge mode, otherwise it is NAT mode. Here I choose bridge, and then the model chooses VitlO paravirtualization.

After the next step, all information will be confirmed. After confirming OK, the submission can be completed.

The system will automatically create the VM. After completion, you can see the creation OK below. We can select the virtual machine, click Start, and then see in the console (VNC) that the host has been powered on and entered. installation process.

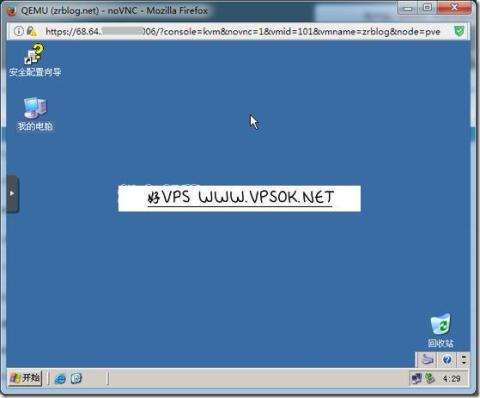
I have posted an extra picture here. Compared with the picture, the biggest feature is that VNC has a black screen. I struggled here for two hours and even reinstalled Proxmox VE. I tried it again but the created virtual machine VNC still had a black screen. Finally I found out that it was the Chrome browser. I switched to Firefox and there was no problem at all. I was just drunk. Hey, I’ll post a picture to keep it in my memory!

We can also pop up a new window in the console of the menu above the virtual machine, which makes the operation more convenient and intuitive. As shown below, we start to gradually install the virtual machine operating system.

This is very simple. I have written about it in many articles, so there are not many pictures. After the system is installed, set the IP, open the remote, and then you can create a virtual machine on the local remote desktop. Machine.

After another test, I feel that there is not much difference in the upgrade operation of the Proxmox VE version. It is basically the same. If you have an idle machine and are interested, you can try it.
For some content, you can also compare it with my 2013 article: https://www.vpsok.net/VPS_help/article_4810.html