I have shared the information about the Hong Kong cloud server provided by DogYun before (Previous review). It is billed by the hour, you can customize the configuration, and you can also change the IP or line by yourself. Today I I also decided to give it a try and record the ordering process. In fact, for Chinese websites, it is basically OK to look at the next step. However, there is not much information on VPS merchant discounts recently, so just treat it as a fake! ~First of all, of course, register for the member center. Registration is relatively simple. Just visit the official website, enter your email or mobile phone number, set a password and submit it.
Official website: www.DogYun.com
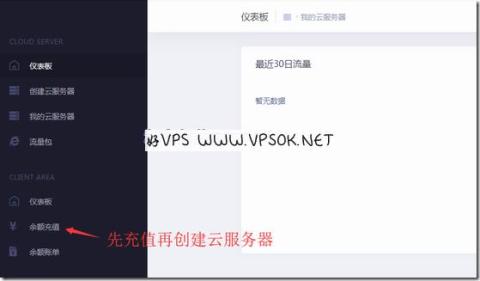
Log in to the member center, recharge first and then create, although the recharge is the minimum You can choose 5 yuan, but you need to create a host with a minimum balance of 30 yuan (of which 10 yuan is a one-time IP setting fee).

After completion, click Create Cloud Server on the left and go to the first step to select a region.

Currently, there is only one region to choose, Hong Kong. After selecting, a selection node will appear. There are three node options, A/B/C. Choose according to your own needs.


Then select the line, there are line one and line two. I explained the line situation in the previous article. In addition, this The host also provides IPv6. The IPs of the merchants that I personally created and tested are all broadcast IPs, not native IPs. Regarding what is a broadcast IP, if you don’t know, I suggest you go to Baidu first.

We can set the bandwidth and traffic limit in the above step. If you use a lot of traffic, it is more cost-effective to buy a traffic package, and then go to the next step to select the operating system. The operating system can be installed in one piece or by mounting an ISO and installing it step by step. There are multiple versions available including Linux and Windows.

After all the information is completed, we can preview the previously selected information, carefully check whether there are any errors, and enter the discount code in the upper right corner (please note that the discount code button is in You can enter it in the first step. When to enter it depends on your personal preference, but don’t think of it until you click Create, it’s too late! )

After completion , the host automatically starts installation and configuration. On the page, we can see the host status and various menu information.

Summary: Display host overview, including status, cost, traffic, resource usage, IP, system, password, etc.
Operating system: displays the current system, password, and can reinstall the system.
Hardware: Current host configuration, you can upgrade the configuration at any time by dragging the slider.
Network: Bandwidth and traffic alerts, changing IP and lines are all completed on this page.
Expenses record: consumption deduction status of the current host.
Age Plan: Receive different traffic amounts based on usage time.
noVNC: vnc function.
Push: transfer function.