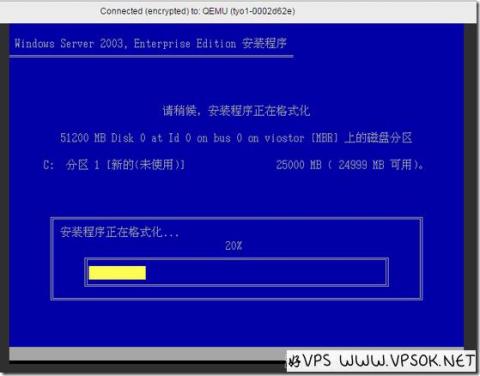
I have tried several ConoHa VPS ways to install Windows systems, and I feel that visual installation using tools is the easiest and most suitable way for novices like VPS to install, so I reprint it here. The tools and installation methods involved in this article are all from Lao Zuo's blog. The article uses this tool to verify the installation process. I opened three new VPS test installations and all were completed normally. Original address:
HTTP://wuwuwu.labor.org/6783.HTMLBefore we start, we must first have a ConoHa VPS (Register and purchase). We have introduced this VPS before (Details Introducing ), here is just a brief review. A brand under GMO, the VPS provided is based on KVM and uses SSD hard drives. It is available in three locations in Japan, Singapore and the United States. The cheapest and lowest price in Japan is 900 yen/month. The host provider has a Chinese website and supports Alipay payment, making it hassle-free for Chinese users to purchase. First, we log in to the user center backend, click "API" on the left menu, and record the following information: store ID, store name, API user name, API user password (if not, please add API user and settings).
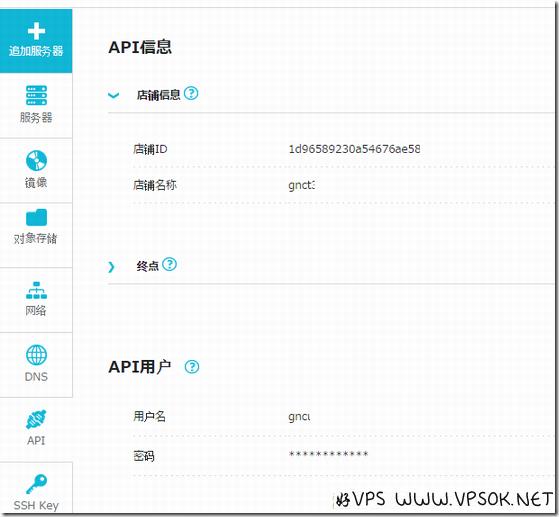
After recording this information, we also need to prepare the Windows system ISO that needs to be installed (the link in HTTP mode is enough), and then download the visual ConoHa VPS host to install the Windows system Tool, this tool is easy language editing, the following reprinted content about the tool introduction:
At the beginning of the month, enthusiastic netizen @ unrestrained kid shared a visual interface written in easy language. In fact, it also uses API text teaching, and then made it into a simple tool that can be directly operated by the interface software. There should be many people using tools like this, or some people have done it before and circulated it internally. Lao Zuo has also tested this software since last week, but due to various reasons, it has not implemented the function. This is not the case this morning. We have compiled some tips for redeployment and shared them with this software by @ unrestrained children, for reference by friends in need...
Software download: http://tools.zrblog.net/ConoHA-Windows.rar
After downloading, unzip and run the exe file directly. You will see the following interface and fill in the information. I will take a screenshot of the operation steps. illustrate.
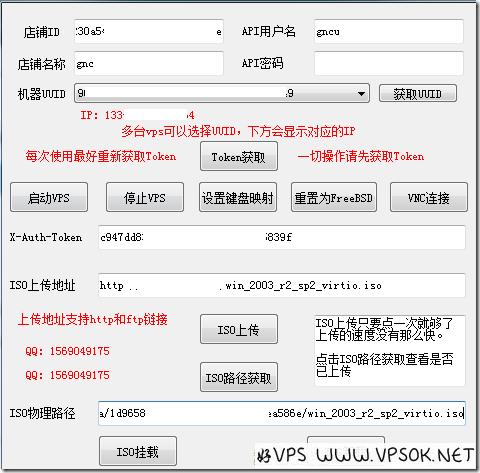
1. Fill in the store ID, store name, API user name, and API password. The information required to be recorded previously is;
2. Click Token to get the machine UUID. If there is one in the account Multiple VPS, please be sure to select the one you plan to install the Windows system on. Under the Get UUID box, there is the IP information of the currently selected machine. Don’t make a mistake;
3. Click to stop the VPS, set the keyboard mapping, and restart Set to FreeBSD, and a pop-up window will pop up to confirm directly after clicking;
4. Put your operating system ISO connection in the ISO upload address, and then click ISO to mount. The time required depends on the network connection status between your ISO address and ConoHa VPS. I directly placed it on another VPS in ConoHa. The intranet in the same computer room was very fast... because there was no upload progress. You can see it, so you can click on the ISO path to get it to see if the transfer is complete;
5. Click on the ISO path to get it. If you see the physical path of the ISO in the pop-up window, it means the transfer is complete. Copy the path to the ISO physical path box. Medium;
6. Start the VPS, click VNC connection, and when you see the startup interface, boot from the CDROM to start the installation process.
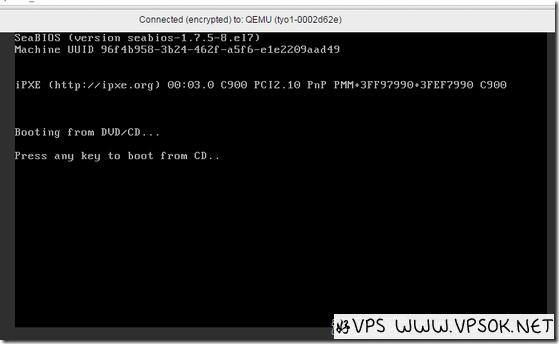
If you miss the CD-ROM drive startup selection, you can directly press the CRTL+ALT+DEL shortcut key on the VNC page to restart, and boot from the CDROM to start installing the Windows system. I installed Windows 2003 here. test.
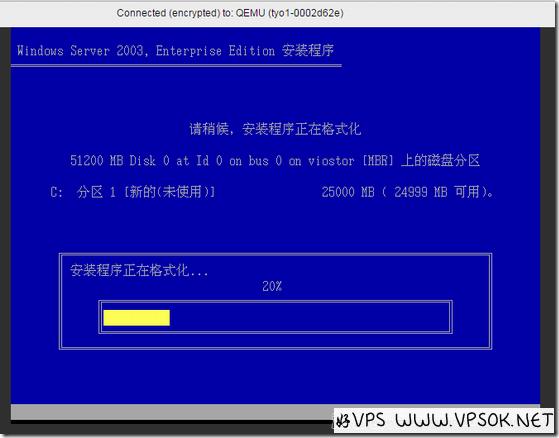
I will not take screenshots of the process of installing Windows 2003. I have also taken screenshots of installing Windows 2003 on KVM before. Please refer to: KVM loading ISO installation windows tutorial
Installation completed After that, first set the local IP address according to the IP information in the network settings on the ConoHA product management page, then open the remote desktop, and then you can remotely connect to the VPS (if it still cannot connect, check the firewall), and finally return to the software and click ISO to uninstall.
This article is a reprinted resource, the original text link:
For readers who have difficulty in operation, you can contact me (email: admin#vpsok.net) to provide the 4 required information, and I will help install it. This is limited to 2003.
