This is not the first time that readers have mentioned this ISPConfig. Good VPS has also searched for some information about this panel several times. It seems that the step-by-step installation process by yourself is more troublesome, especially for an environment like Good VPS that just relies on copying and pasting. It is more difficult for people to operate. However, during the search, I found a one-click installation script published by a foreign netizen. After testing, it was good and suitable for Debian or Ubuntu operating systems.
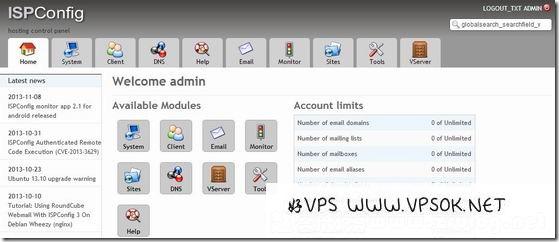
ISPConfig is a free and open source virtual host management program that can manage virtual hosts through the Web, open websites, open email accounts, open and manage MySQL databases, etc.
It should be noted that the installation script I mentioned this time is only applicable to Debian or Ubuntu. This article will be tested under the Debian7 32bit system.
One-click script release original address: https://vpsboard.com/topic/1299-ispconfig-3-autoinstaller-for-latest-debianubuntu/
First, log in to our VPS via SSH, and then execute a line of code :
| 1 |
cd /tmp; wget --no-check-certificate -O ISPConfig3.tgz https://github.com/dclardy64/ISPConfig-3-Debian-Installer/tarball/master; tar zxvf ISPConfig3. tgz; cd *Installer*; bash debian_install.sh |
If you are using Ubuntu, execute:
| 1 |
cd /tmp; wget --no-check-certificate -O ISPConfig3.tgz https://github.com/dclardy64/ISPConfig-3-Debian-Installer/tarball/master; tar zxvf ISPConfig3.tgz; cd *Installer*; bash ubuntu_install.sh |
You can use screen when executing. The compilation time is related to your VPS configuration and network environment. However, please do not walk away during the compilation process. There are many places in this script where you need to press Enter or fill in relevant content. . During this execution process, there are many items that need to be entered, so I will not take screenshots one by one, but just excerpt the content: Server IP; Hostname, twice; select Web service apache or nginx, default apache; mail service; SQL service; Set the MySQL database root account password; Setup User Quotas; Setup Mailman; Setup User Jailkits; ********** Take a moment, the waiting time will be longer after this step ************ *After that, press Enter, and then wait for compilation to reach the phpmyadmin configuration. phpmyadmin administrator password; database password, twice; configure mail, select language: en; then list the mailbox, password; then there are some choices or press enter, and finally we come to the following screen.
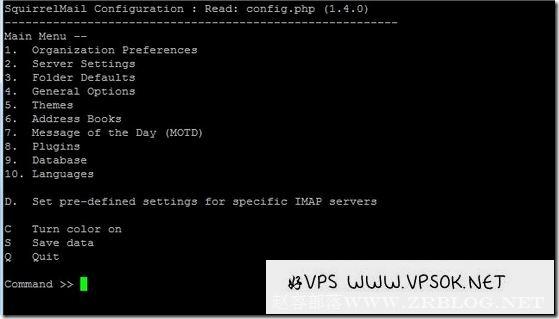
I chose Q directly and quit. The above are all about installing components on the machine. The real ISPConfig installation starts below.
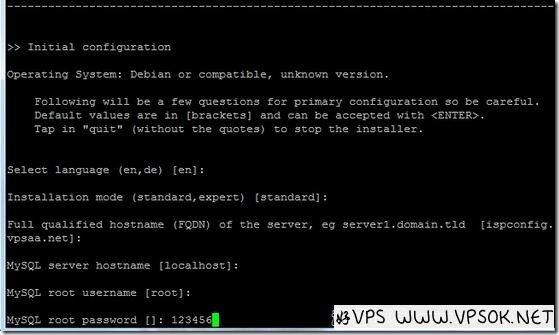
The language, installation mode, host name, database information, etc. are set above. The personal information is set below. I just pressed Enter.
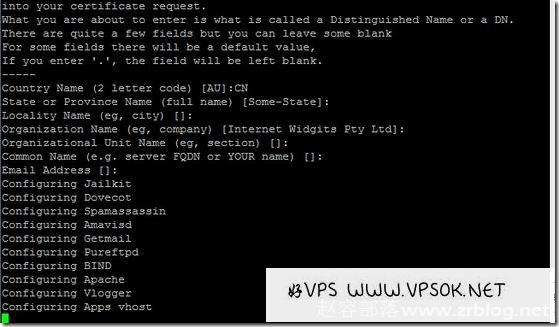
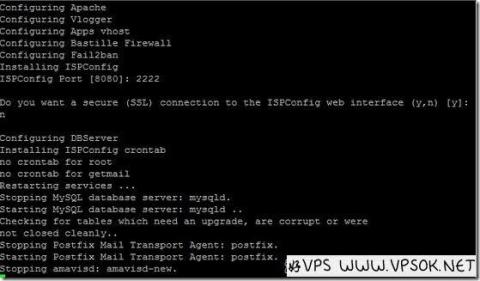
The picture below has some content. One is to set the panel access port. The default is 8080. You can see that I set it to 2222. This is set according to your needs. The other one asks you to choose whether to force SSL access, the default is yes, I set n.
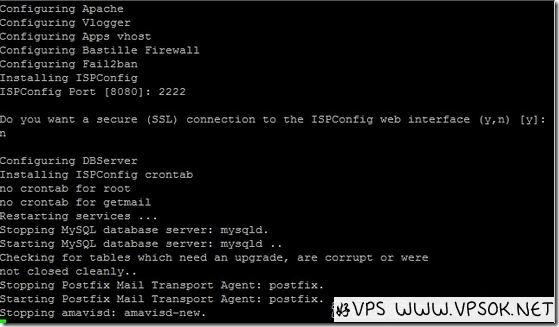
After all installations are completed, use the host name + port to access the panel and login panel. You can add users, add websites, databases and other operations.
An important thing is missing, the Chinese language pack. You can download it: http://dl.zrblog.net/ispconfig_cn.zip
Unzip it, log in to the ISPConfig panel, select the language editor in System, and click Just import it, and then go to the tools to set and select the language cn.
