
cPanel is a very powerful foreign virtual host management panel. It comes with Chinese language (this is better than DA, you don’t need to install the Laoshizi Chinese package). It has comprehensive functions and is easy to use... Anyway, it has many advantages, but it is a bit expensive... Good I have installed the VPS myself several times, all of which are test versions. I spent more than an hour shopping in the morning, but I couldn't find any good discount information, so today I recorded the WHM/cPanel installation tutorial for fun. Because I am personally not familiar with WHM/cPanel installation and configuration, so there may be omissions or inaccuracies in this tutorial, and you are welcome to correct me.
First, install the operating system on the server. In this article, I use OVH’s free server as an example. Having said that, I would like to give a thumbs up to OVH's server. Installing the system is very convenient. Just like a VPS, you just select the system and reinstall it. The servers I have used before either required KVM or IPMI from the hosting provider, or paid to install them (representatives: EGI, Burst, etc.). I digress, but let’s get back to the topic!
The system I installed is Centos 6.3 64bit. First, we need to turn off SELINUX, turn off the firewall (iptables), and upgrade the system (yum update). After completing the above, the installation of WHM/cPanel is complete. It's very simple. First use screen, and then a few lines of commands:
cd /home #Enter the home directory
wget -N http://httpupdate.cpanel.net/latest <x2 > #Download the installation script
sh latest #Run the installation
Next, it’s time to wait! Installing WHM/cPanel takes a long time, about 1 hour (OVH takes nearly 70 minutes). There is a usage time in the prompt after completion, you can check it yourself.
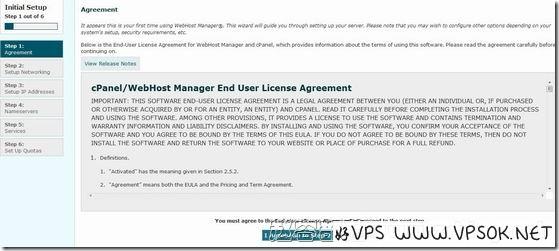
Below are some simple settings before opening the WHM/cPanel panel for the first time. There are 6 steps in total, which can be seen on the left side of the page. The first one is the protocol:
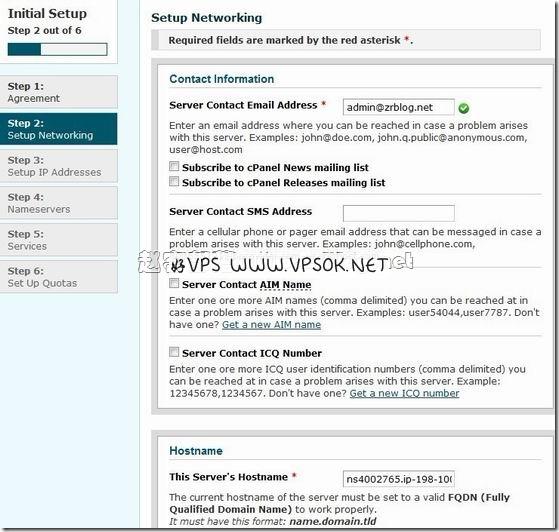
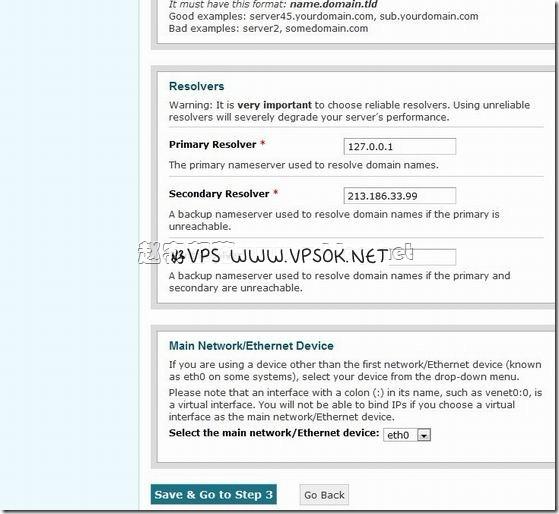
The second step is to set up the network. Including contact email address, host name settings, NS server settings, etc.
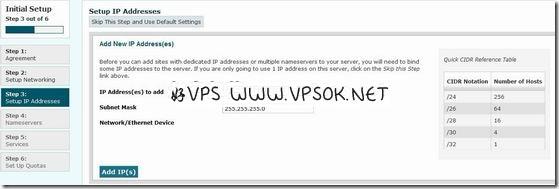
The third step is to set the IP. If there are multiple IPs, please add them here.
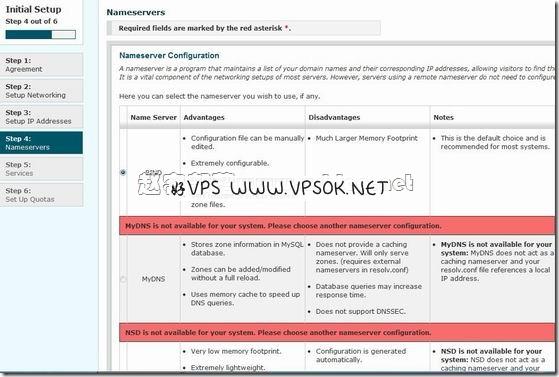
The fourth step is to select the resolution service program, etc.
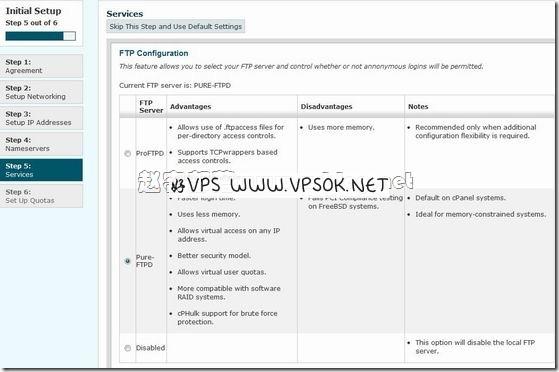
The fifth step is to set up FTP service and email service.
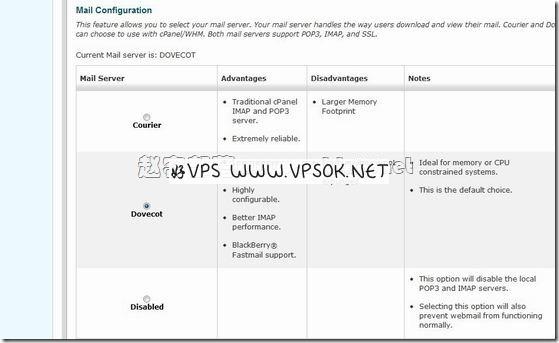
Finally, complete and log in. The following is the interface after login (the WHM/cPanel administrator login account and password are the root account of the server).
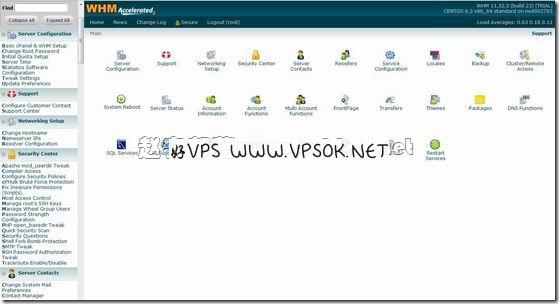
After that, we can configure and use WHM/cPanel according to our needs. For example, when many cPanel panels add domain names, they will prompt that the server's NS must be used, and the following content needs to be modified.
Select the menu in turn: Main >> Server Configuration >> Tweak Settings
Then click: Domains
Find the third item: Allow Remote Domains [?] on
Select on, approve the remote domain name, and then save and it’s OK!

