
The previous article Good VPS recorded the process of creating a new virtual machine using VMware (review of the previous article). Now, continue the process of the previous article and start the virtual machine (this is equivalent to turning on our computer). Because the CentOS complete system ISO is close to 5GB, here is a system I downloaded before as an example, the version is CentOS5.5 32bit.
After starting the virtual machine, the virtual machine starts running, just like when our computer is turned on, a bunch of white words on a black background float by, starts from the ISO, and enters the installation interface.
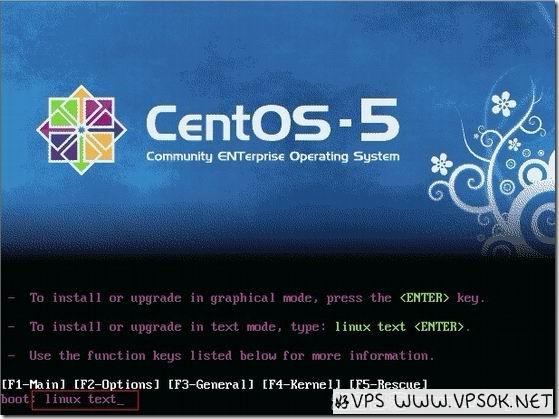
Enter the mode and press Enter. The subsequent process is actually relatively similar to our installation of the Windows system, so I will not take screenshots of each step.
Please note that due to version differences, the interface you see may be different. Here I choose text mode. If you want to install the graphical interface, just press Enter.
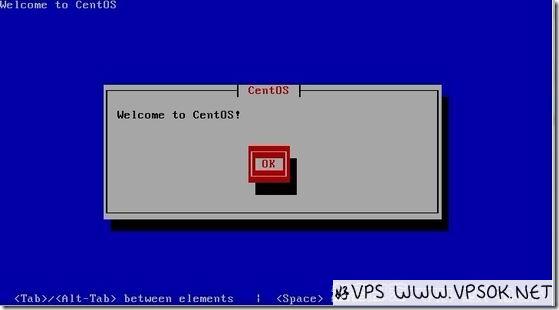
After that, we see the welcome interface and press Enter.
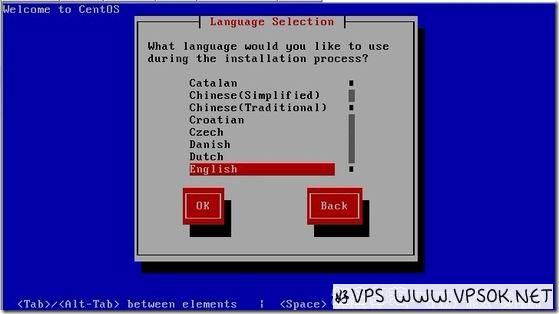
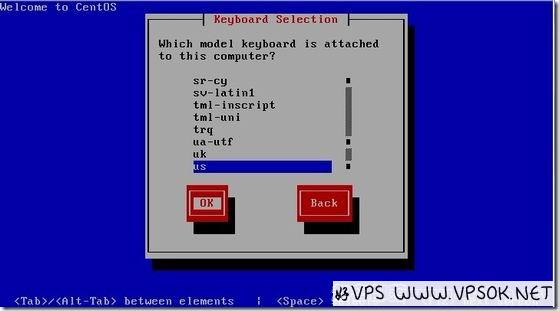
Select language and region, choose English and US, it is a matter of personal habits.
Next, select the disk to use, and then OK. Next, you will reconfirm whether you want to use this disk, Yes.
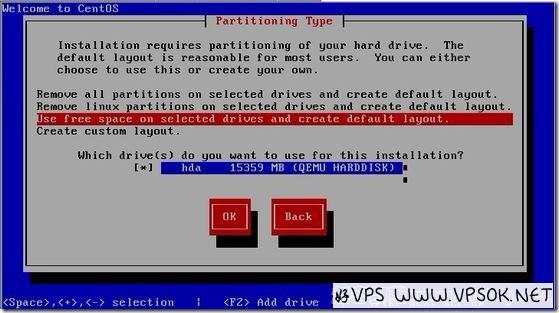
Then, it’s partitioning. This... you can divide it according to your needs. It’s also a good idea to pass it by default. OK directly.
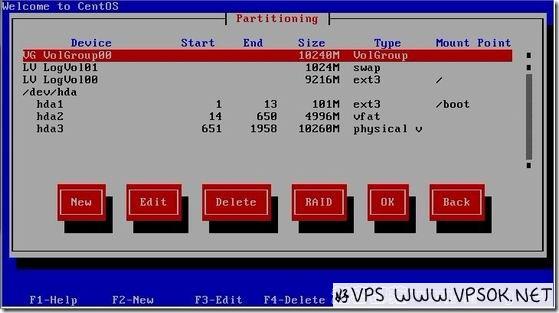
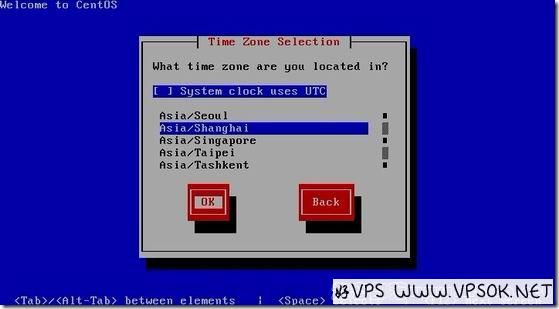
Select Use GRUB Boot Loader, OK; basically keep the default and then OK (some of them can be adjusted according to your own needs). Come to the time zone and select Asia/Shanghai.
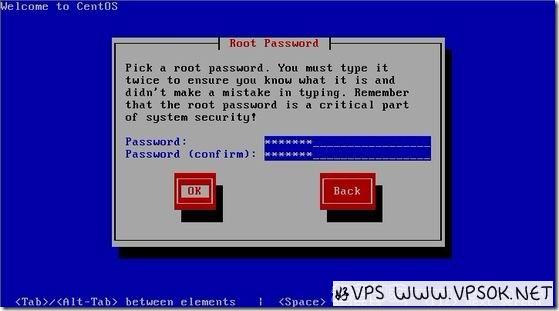
Next set the root password. Remember this. Root in Linux has the highest authority, which is equivalent to the administrator of Windows.
For other components, the Gnome desktop is selected by default. I generally don’t want this, so I deselect it and click OK.
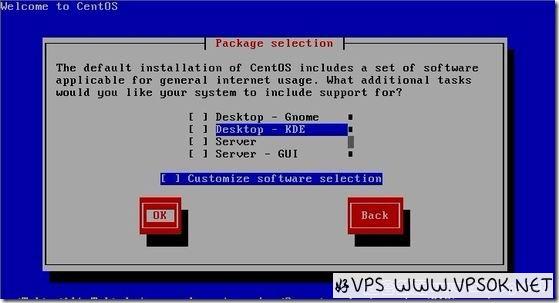
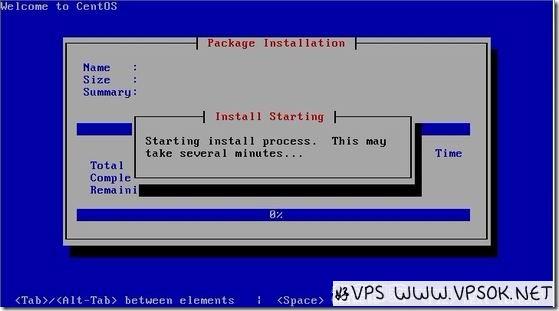
Next, the system begins to format the disk, copy files, and start the installation process.
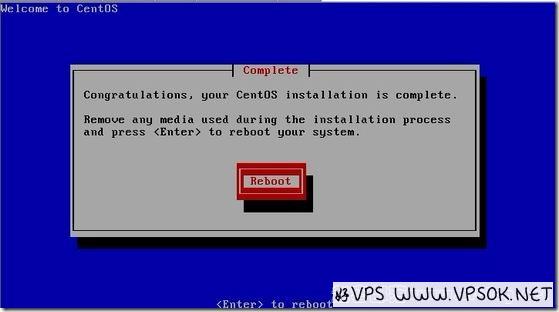
After completion, the system will prompt you to restart the interface, OK to restart.
When starting up for the first time, make some basic settings, such as turning off SELinux.
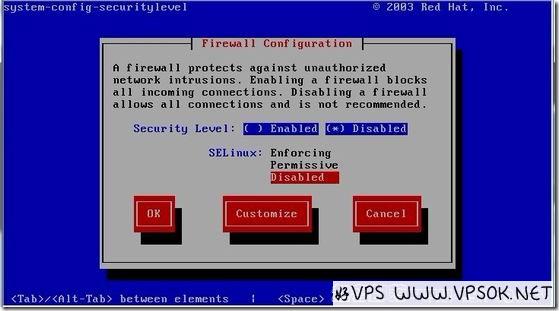
After completion, log in with the root account, and our system installation is complete.

Finally, we install the environment. This is relatively simple. The good VPS tribe has shared and followed up on some environment and panel information many times before. The one I use most here is Junge’s. lnmp one-click package, the latest version is 0.9.
I will list the installation process in code and will not explain it one by one. For specific information, you can go directly to the lnmp official website to view. Because we are installing this on a local virtual machine in China, it is recommended to use the full version.
wget -c http://soft.vpser.net/lnmp/lnmp0.9-full.tar.gz
tar zxvf lnmp0.9-full.tar.gz
cd lnmp0.9-full/
./centos.sh 2>&1 | tee lnmp.log
Then bind the domain name, enter the MySQL database roo password, etc., and wait for completion. This may take a long time based on the configuration of your computer and the conditions of the local network. After completion, use the IP of your virtual machine to access it, and you will be able to see the probe and PHP information.
The above installation process is also applicable to CentOS system installation of KVM or XEN HVM (local ISO non-network installation)

